scheppach GM09 Goniometer
Instruction Manual
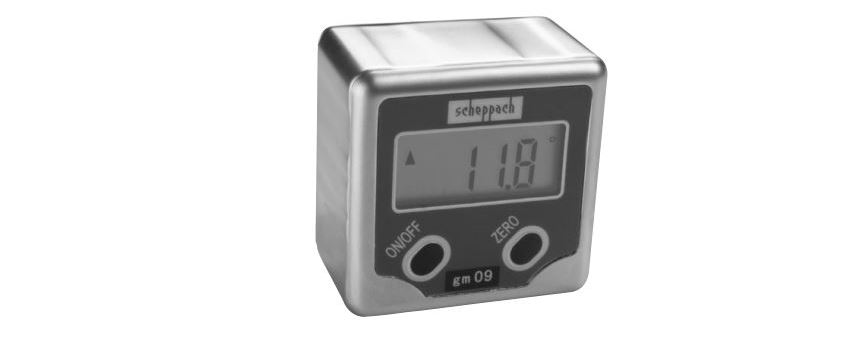
GM09
This innovative tool determines every angle precisely and fast.
![]()
Only for EU countries.
Do not dispose of electric tools together with household waste material!
In observance of European directive 2012/19/EU on wasted electrical and electronic equipment and its implementation in accordance with national law, electric tools that have reached the end of their life must be collected separately and returned to an environmentally compatible recycling facility.
Dear customer,
We wish you a lot of enjoyment and success when working with your new scheppach-device.
NOTE:
According to the Product Liability Act the manufacturer will not be held liable for damages occurring on the device and damages occurring by the device, when they occur on:
- Improper handling,
- Non-observance of the operating manual
- Repairs by third parties, non-authorised personnel,
- Installation and replacement of non-original spare parts,
- Non-intended use,
- outages of the electric system, when not observing the electric regulations and VDE-term 0100, DIN 57113 / VDE 0113.
WE RECOMMEND:
That you read the whole operating manual thoroughly before mounting and initial operation. This operating manual helps you to get to know your device and its intended applications. The operating manual contains important notes on how to work safely, professionally and efficiently and how to avoid dangers, save on repair costs, reduce times of outage, and how to increase the reliability and durability of the device.
General Hints
- After unpacking of all parts, check them for possible transport damage. For any claims the deliverer is to inform immediately. Later claims will not be accepted.
- Check the delivery for completeness.
- Use the operating manual to get acquainted with the appliance before using it.
- Only use original parts when it comes to accessories as well as to worn parts or spare parts.
Spare parts are available at your scheppach speciality retailer. - On orders, please indicate our item numbers as well as the type and the year of manufacture of the device
Safety instructions
- Always turn off electrical devices before using the digital goniometer.
- Put the goniometer flat on a reference surface, e.g. a circular saw bench, a mitre-box saw or a planing table. On a band saw the blade is the reference area.
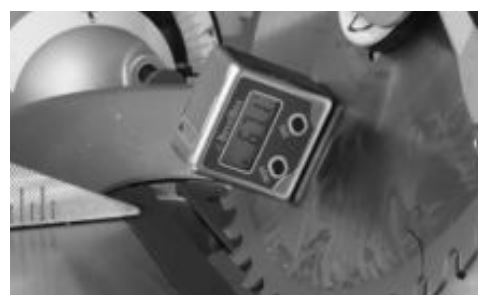
- Turn on the goniometer and press ZERO in order to set it to 0.0°, calibrating the reference surface (see fig.1).
- Arrest the device on the blade or on the planning arrester by using the integrated magnets (see fig.2).
The goniometer should be held vertically to the table for all measuring activities (see fig. 3). - Any correct adjusted blade, truing block or band saw table is going to show 90°. If the display shows any other result than 90°, re-adjust your appliance according to the corresponding instructions of the manufacturer.
- Replace the batteries by turning the lid on the back of the goniometer counter clockwise (see fig. 4).
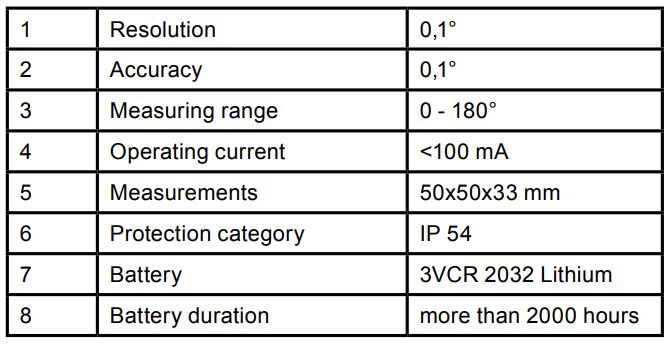
Technical data
Accessory
2 batteries CR 2032
A Velcro fastened case with belt loop
Working tips
ATTENTION: Always turn off electrical devices before using the digital goniometer.
Fig. 1
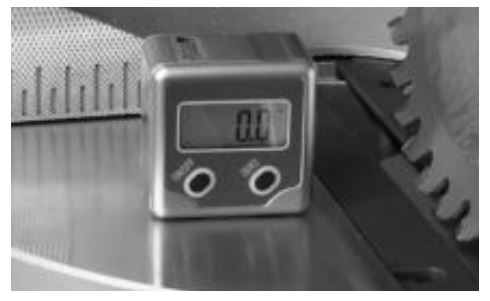
- Put the goniometer flat on a reference surface, e.g. a circular saw bench, a mitre-box saw or a planing table. On a band saw the blade is the reference area.
- Turn on the goniometer and press ZERO in order to set it to 0.0°, calibrating the reference surface.
Fig. 2
3. Arrest the device on the blade or on the planning arrester by using the integrated magnets (see fig. 2).
The goniometer should be held vertically to the table for all measuring activities.
Fig. 3
4. Any correct adjusted blade, truing block or band saw table is going to show 90°. If the display shows any other result than 90°, re-adjust your appliance according to the corresponding instructions of the manufacturer.
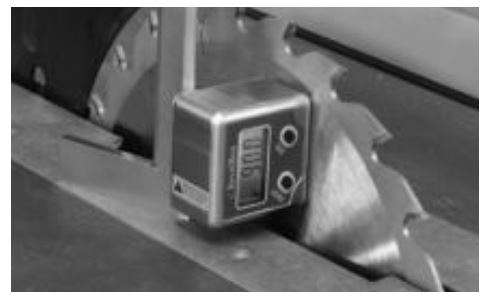
Fig. 4
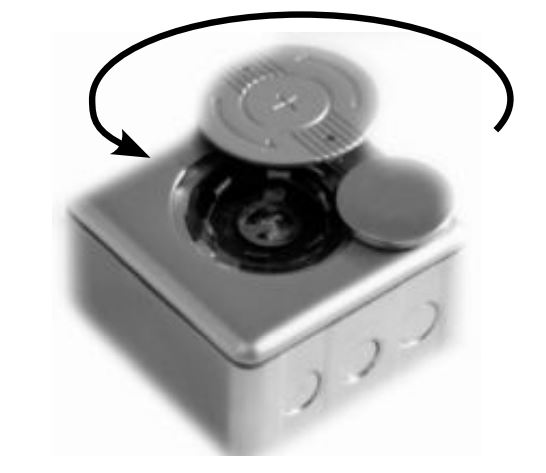
5. Replace the battery by turning the lid on the back of the goniometer counter clockwise.
Maintenance
- Clean the goniometer with a mild cleaning agent on a damp cloth. Never immerse the device into water.
- Always use a 3V-battery.
- It is a sensitive precision tool and should be protected against excessive dust. Do not let the device drop.
Declaration of conformity
![]()
hereby declares the following conformity under the EU Directive and standards for the following article

Warranty
Apparent defects must be notified within 8 days from the receipt of the goods. Otherwise, the buyerís rights of claim due to such defects are invalidated. We guarantee for our machines in case of proper treatment for the time of the statutory warranty period from delivery in such a way that we replace any machine part free of charge which provably becomes unusable due to faulty material or defects of fabrication within such period of time. With respect to parts not manufactured by us we only warrant insofar as we are entitled to warranty claims against the upstream suppliers. The costs for the installation of the new parts shall be borne by the buyer.
The cancellation of sale or the reduction of purchase price as well as any other claims for damages shall be excluded. The saw blade is a consumable item and explicitly excluded from any warranty.
![]() +(49)-08223-4002-99
+(49)-08223-4002-99
![]() +(49)-08223-4002-58
+(49)-08223-4002-58