Instruction Manual of TRUCKSTYLE SWEDEN Sunvisor
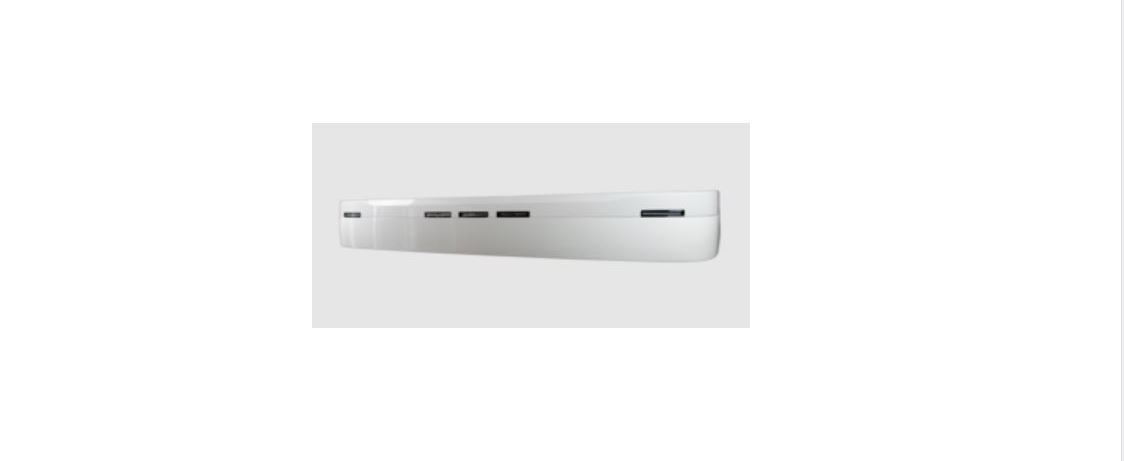
30 cm for Scania NG Custom 7


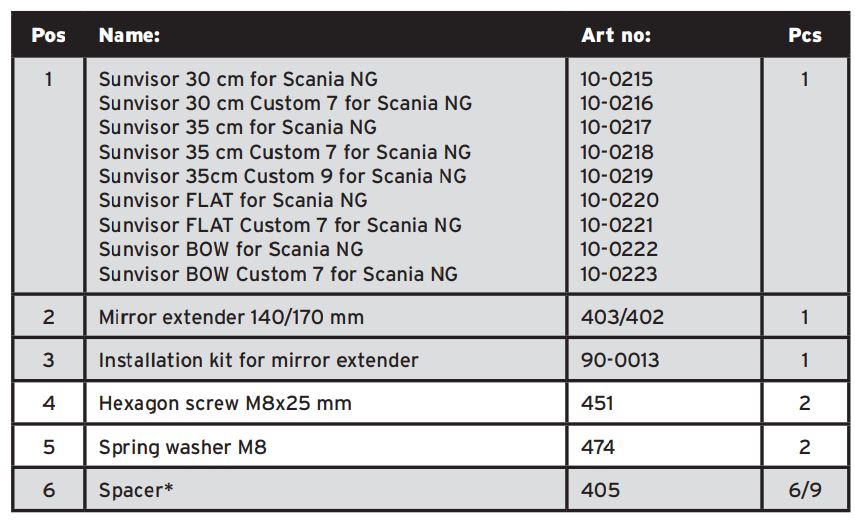
CONTENTS:

*Spacers are only included with the sunvisor Custom with a position light at the bottom of the sun visor.
![]() IMPORTANT!
IMPORTANT!
All installations should be done by experienced mechanics/vehicle electricians. In the event of your own modifications or making holes in the product, the warranty expires. Always follow the truck manufacturer’s the truck manufacturer’s bodywork instructions regarding drilling and wiring in the cab. The same applies to the dimensioning of cables and the connection of lighting.
TruckStyle Sweden AB does not take responsibility for any damage that occurs in the event of an incorrect installation. The installation instructions describe the installation of sunvisor on a left-hand drive vehicle.
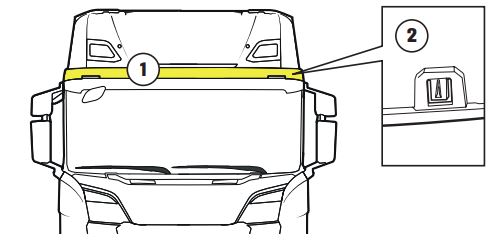
1. Start by removing the upper part (1) of the sunvisor by pushing in the upper part’s lockings (2).

1. Upper part
2. Locking
![]() NOTE! Save the upper part to be reused for the new sunvisor.
NOTE! Save the upper part to be reused for the new sunvisor.
2. Disconnect the connector (3) between the cab and the front mirror (1) and remove the front mirror from the cab by removing 2 screws (2). Disconnect any contact piece for position lights between the cab and the sun visor. Remove position lights (4) with associated cabling from the sunvisor.

- Front mirror
- Screw M8
- Front mirror cable & connector
- Positions light with connector
![]() NOTE! If mounted, save position lights and associated wiring that will be reused for the new sunvisor.
NOTE! If mounted, save position lights and associated wiring that will be reused for the new sunvisor.
3. Remove the sunvisor from the cab by removing remaining 4 screws (1).

4. Place the mirror extender (1) on the front mirror with 2 screws (2) and spring washers (3)

- Mirror extender
- Hexagon screw M8x25
- Spring washer M8
5. If equipped with position lights, fasten wiring to the position lights i new sun visor and use the pre-drilled holes for cable ties.
6. Applies to sun protection Standard without position light at the bottom

- Press-in threaded flange screw M8
- Front mirror with mirror extender
- Spacer
- Position light (only sunvisor Custom)
Fit the sunvisor and the front mirror with the mirror extension with 6 press-in threaded screws (1). The screws must be adjusted in length so that the screws’ thread engagement in the cab’s weld nuts is the same as on the original sunvisor.
Applies to sun protection Standard with position light at the bottom
The sunshade and the front mirror must be put there as well evenly distributed number of spacers* (3) between sun protection and the cab’s three attachment points. Put the sun visor and the front mirror with it the mirror extender with 6 press-in threaded bolts (1). The screws must be adjusted in length according to number spacers, so that the thread engagement of the screws i the cab weld nuts will be the same as it is on the original sun visor.
*For sunvisors with 2 position lights (4) at the bottom, 6 spacers must be used. For sunvisors with 4 position lights at the bottom, 9 spacers must be used.
![]() IMPORTANT! If other accessories (for example light boxes or light arcs) are to be mounted, but only use two of the sunvisor’s attachment points, an equally thick spacer must be used in thepositions not affected by the accessories. Be sure to make the distance 80×50 mm x thickness of the accessory. The reason is to distribute the power so that there is no tension in the sunvisor. No gaps are allowed!
IMPORTANT! If other accessories (for example light boxes or light arcs) are to be mounted, but only use two of the sunvisor’s attachment points, an equally thick spacer must be used in thepositions not affected by the accessories. Be sure to make the distance 80×50 mm x thickness of the accessory. The reason is to distribute the power so that there is no tension in the sunvisor. No gaps are allowed!
![]() IMPORTANT! Tighten the screws by starting with the 2 middle screws and finally tightening the 4 outer ones.
IMPORTANT! Tighten the screws by starting with the 2 middle screws and finally tightening the 4 outer ones.
7. Connect the front mirror’s connector (1) to the cab’s connector. If the sunvisor is equipped with position lights, connect the wiring harness to the cab. Fit the position lights (2) and connect the wiring harness to the position light connector (3).

- Front mirror connector
- Position light
- Position light connector
![]() IMPORTANT! All cable entries in the cab must be sealed so that water cannot enter the cab.
IMPORTANT! All cable entries in the cab must be sealed so that water cannot enter the cab.
8. When the electrical connection between the vehicle and the LED ramps is performed (performed by electrician). Turn on the LED ramps and adjust the light pattern, finally tighten all the screws, and nuts.
Check the function of the front mirror and same for the position lights if equipped.
9. Put back the original upper part on the new sunvisor (1).

1. Upper part

www.truckstylesweden.com
order@truckstylesweden.com
Phone: +46 (0)70-007 9876
