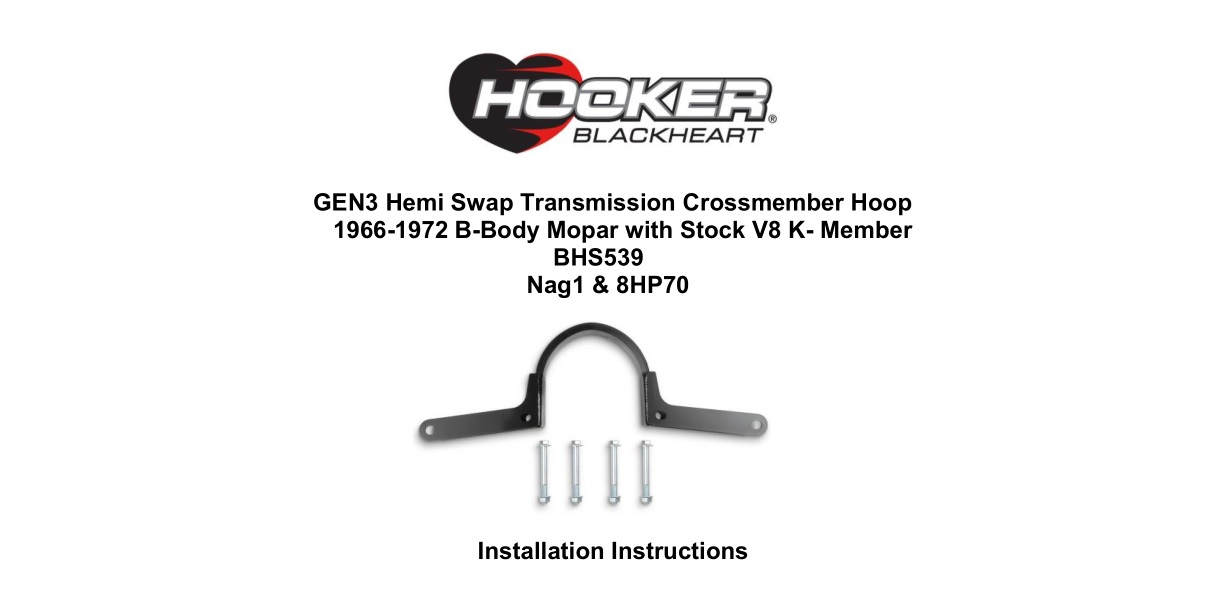
HOOKER BHS539 GEN3 Hemi Swap Transmission Crossmember
Hoop Instruction Manual
Thank you for choosing to use HOOKER™ engine swap mounting brackets as part of your GEN3 HEMI Swap project. These mounting brackets are part of the most comprehensively engineered system of mounting components, headers and exhaust systems available for this application. Please read these instructions thoroughly before attempting installation.
IMPORTANT: Requires Hooker Blackheart Engine Mounting Brackets P/N BHS531 and Transmission Crossmember BH532. See compatibility below for part numbers and installation notes.
- Cutting the upper transmission crossmember is required.
- Hammer work to the transmission tunnel is required – (No Cutting Is Necessary)
- Shifter removal and reinstallation are required for vehicles equipped with a floor shifter and center console
Visit Holley.com for a complete selection of Transmission Crossmember ,Headers ,Exhaust and more GEN3 HEMI support products to complete your B-Body Hemi Swap
COMPATIBILITY INFORMATION:
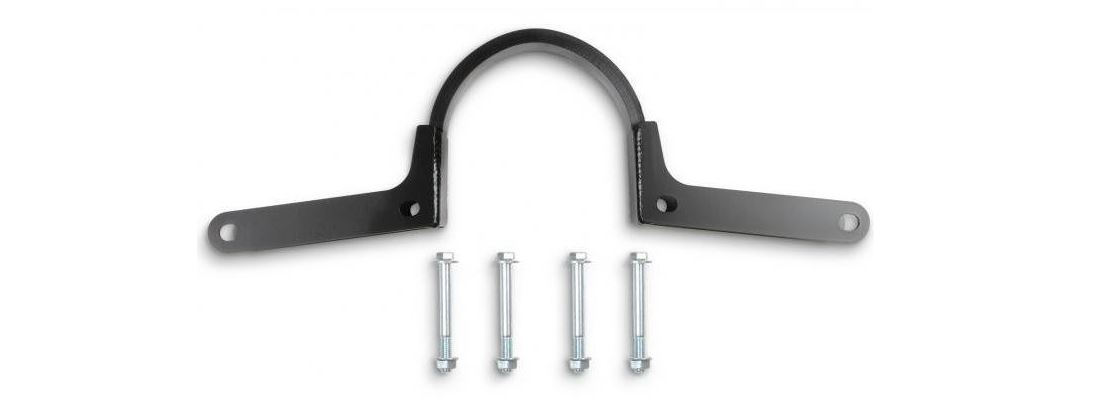
The BHS539 Crossmember Hoop was designed specifically to provide additional clearance for the NAG1 and 8HP70 Transmission installations.
* BHS539 will not work with 46RE, 545RFE, T56 (Magnum) or TR6060 installations. These transmissions require extensive transmission tunnel modifications
Supporting Hooker Blackheart parts required for use with BHS539 Transmission Crossmember Hoop
BH532: Transmission Crossmember
NAG1: Adapter Plate P/N: BHS535, Transmission mount P/N: 71223029HKR, Engine mounting brackets P/N: BHS531
Install Notes: Some Transmission tunnel massaging will be required (shift lincage), Minor case trimming will be required.
8HP70: Adapter Plate P/N: BHS536, Transmission mount P/N: 71223029HKR, Engine mounting brackets P/N: BHS531
Install Notes: Moderate Transmission tunnel massaging will be required, Minor case trimming will be required
PARTS LIST:

ACCESSORY PACK CONTENTS:

Check the hardware package. If anything is missing, please contact Technical Service at 1-866-464-6553 or 270-781-9741.
TOOLS NEEDED:

INSTALLATION:
These instructions are written with the assumption that the center console, shifter, and shift linkage have been removed (if your car is equipped with a floor shifter and center console).
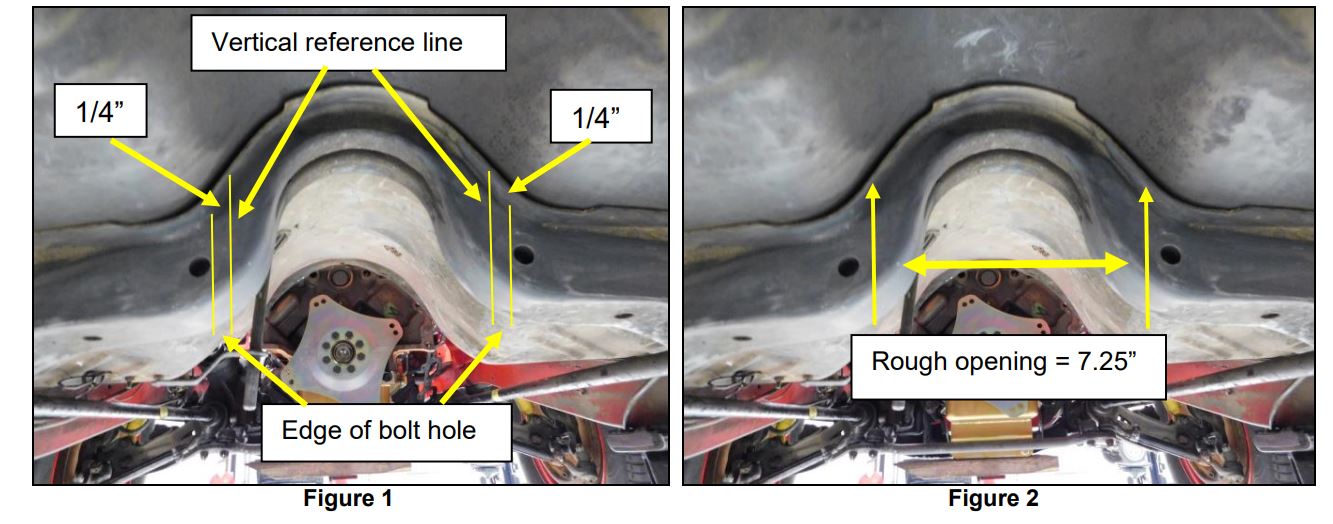
- Measure from the bolt hole to the vertical reference line and mark at ¼” (Figure 1).
- Draw a vertical reference line from top to bottom on the upper transmission Crossmember (Figure 1). This will be the rough opening after the section of Crossmember is removed. The opening will be trimmed to actual size after the initial cut is made to avoid cutting into the support bushings inside the Crossmember Support (Figure 2).
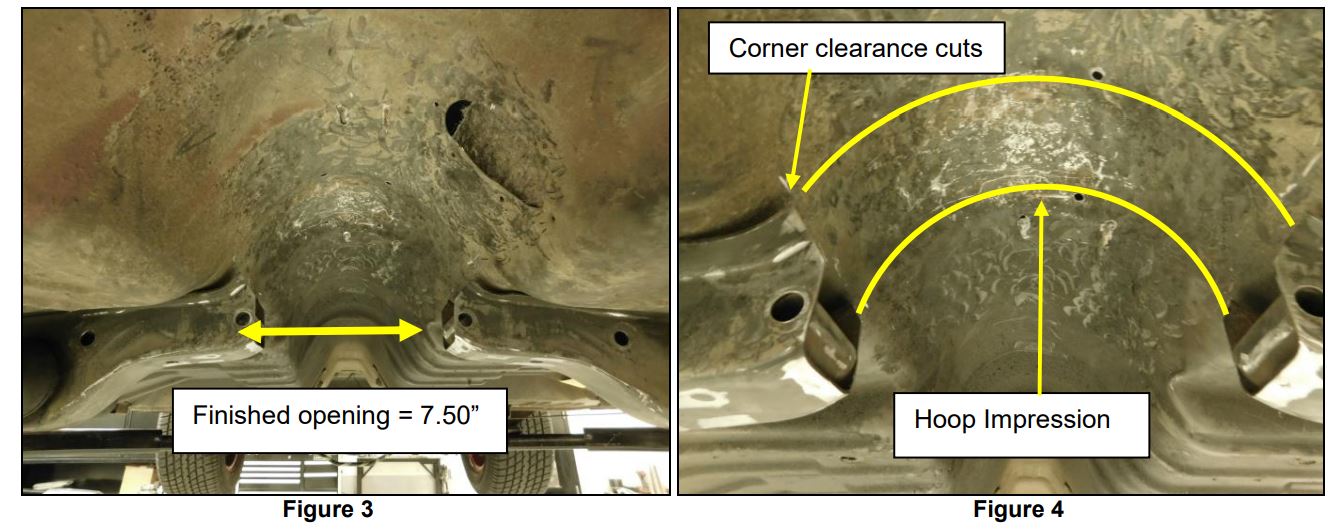
- Cut along the vertical reference line using a right angle grinder and cutoff wheel. Take your time and make a clean vertical cut making sure to stay on the inside of the vertical reference line. Resist the need to take more material than necessary, more material will be removed with the grinder and flap wheel after the initial center section of the upper transmission tunnel is removed (Figure 3).
- Remove the center hoop section of the upper crossmember. It may be necessary to drill some spot welds from the upper flanges where the factory has welded the floor pan to the crossmember.
- Using the grinder with the flap wheel, carefully rim the opening back to the support bushings. The finished opening will be 7.5” wide to allow the BHS539 trans tunnel hoop to be installed after the sheet metal and final trimming work are completed.
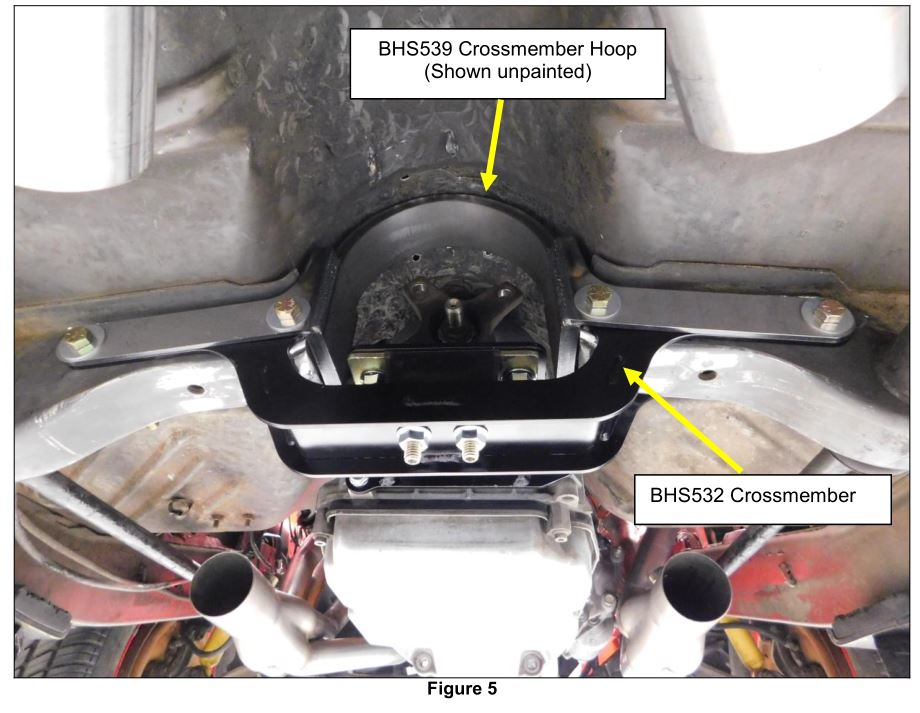
- Forming the transmission tunnel directly over the BHS539 Crossmember Hoop will be necessary for the hoop to fit inside the transmission tunnel. Use a large hammer and or body dolly to form a pocket into the transmission tunnel sheet metal. Work the sheet metal and fit the BHS539 hoop into the transmission tunnel as you go to see where and how much the metal needs to be worked. Removing additional material on the top corners of the upper crossmember will be necessary as the BHS539 hoop fits into the tunnel. Check fitment and trim as needed to avoid moving more material than necessary (Figures 4 & 5).
- Install the BHS539 and BHS532 crossmember together using the supplied 7/16 x 4” bolts. It may be necessary to remove a small amount of material at the inside edges of the BHS532 transmission crossmember bracket to fit inside the BHS539 crossmember hoop if you have an early production BHS532 crossmember.
SPECIAL NOTE:
Install the 7/16 bolts from front to back (opposite of what is shown ) and use the supplied M10 X 25MM Button head cap screws to install the BHS536 adaptor plate onto the transmission for 8HP70 transmission installations. This will provide better clearance around the brackets.
Any questions? Please contact Technical Service: 1-866-464-6553 or 270-781-9741. For online help, please refer to: www.holley.com.
© 2020 Hooker Headers, Inc. All rights reserved. Tous Droits Réservés.
199R12041
Date: 6-15-20
