
PRODUCT FEATURES:
– Retains functionality of Factory-installed Navigation System for passenger access at anytime
– Plug & Play Converter Solution for HDMI to Composite Devices
– Compatible with iOS Devices with Lightning Connector [Requires Apple Lightning to HDMI adapter (Apple part# MD826ZM/A). Sold separately
– Compatible with Android Devices [Requires HDMI to MHL Adapter. Sold separately]
NOTES:
– Compatible with Entune® radios (radio has an “APPS” button).
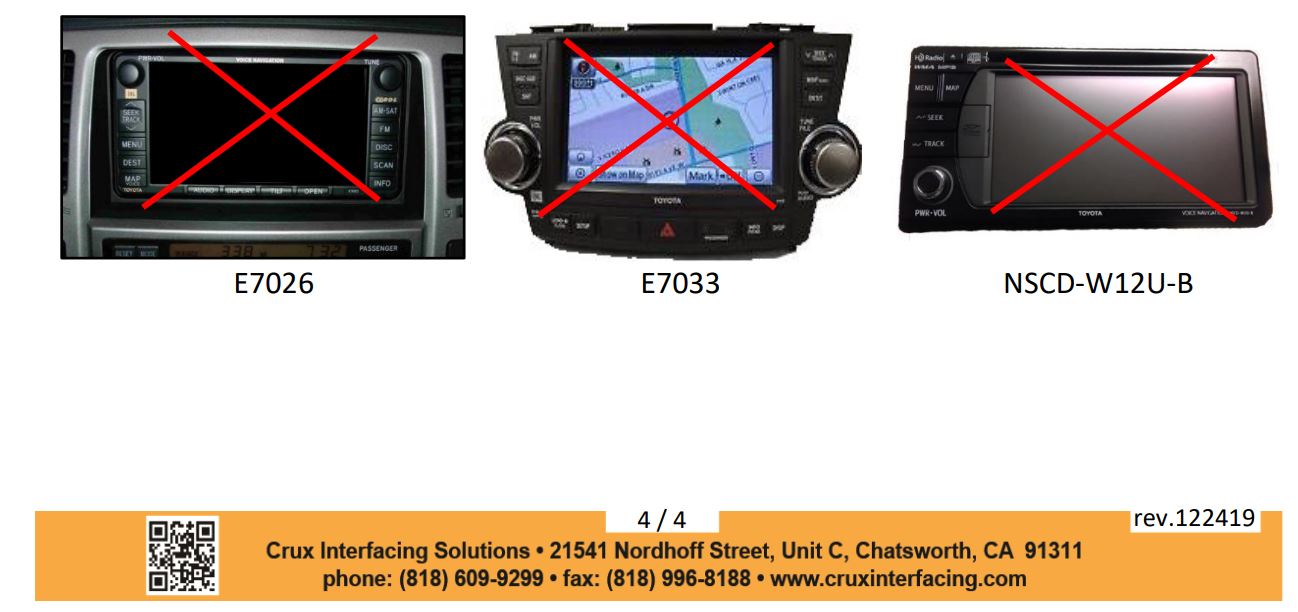
– Not compatible with radio model numbers E7026, E7033 and NSCD-W12U-B.
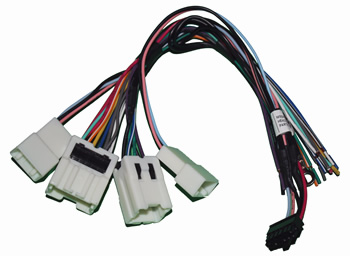
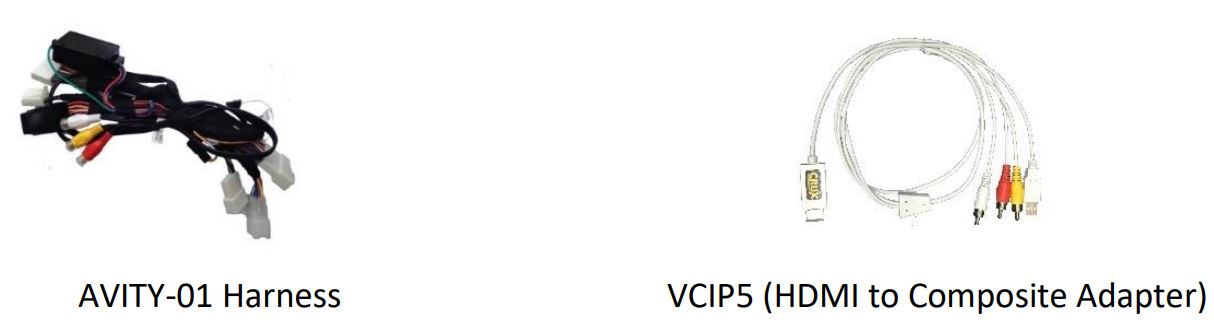
PARTS INCLUDED:
INSTALLATION DIAGRAM:
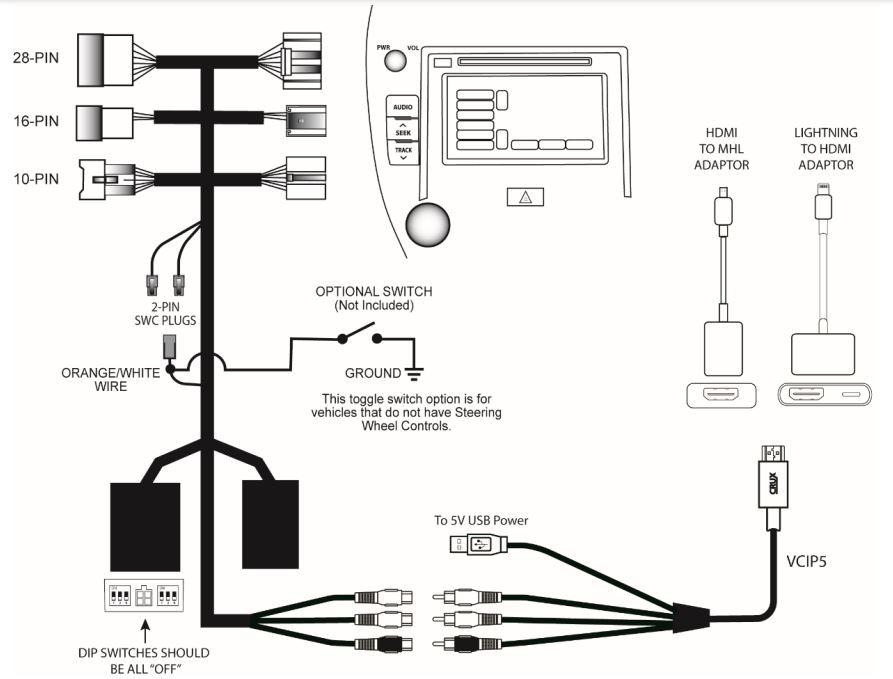
NOTE: The 16-Pin connector is not available on some newer vehicles. You can leave it disconnected if your vehicle does not have a 16-Pin connector.
INSTALLATION:
- Remove the factory radio from the dashboard.
Note: DO NOT disconnect the airbag connector. - Remove the factory connectors from behind the factory radio.
- Mate the T-Harness connections to the factory connectors. (Make sure all connectors are properly seated into the interface and into the radio.) (JBL Radios see page 3)
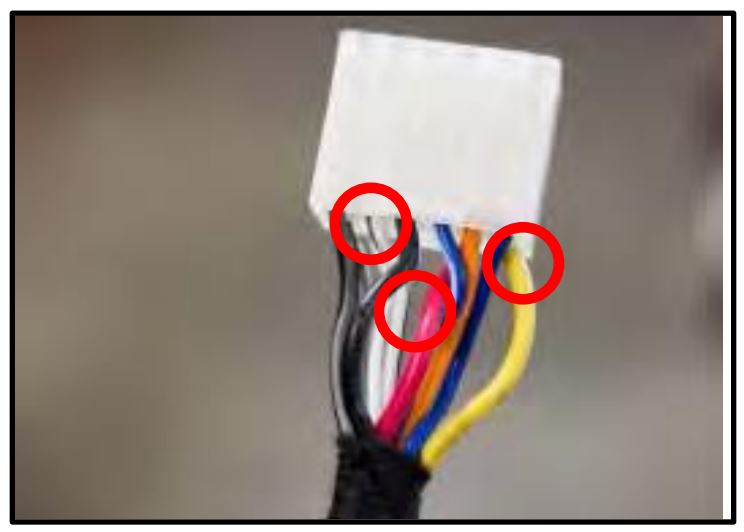
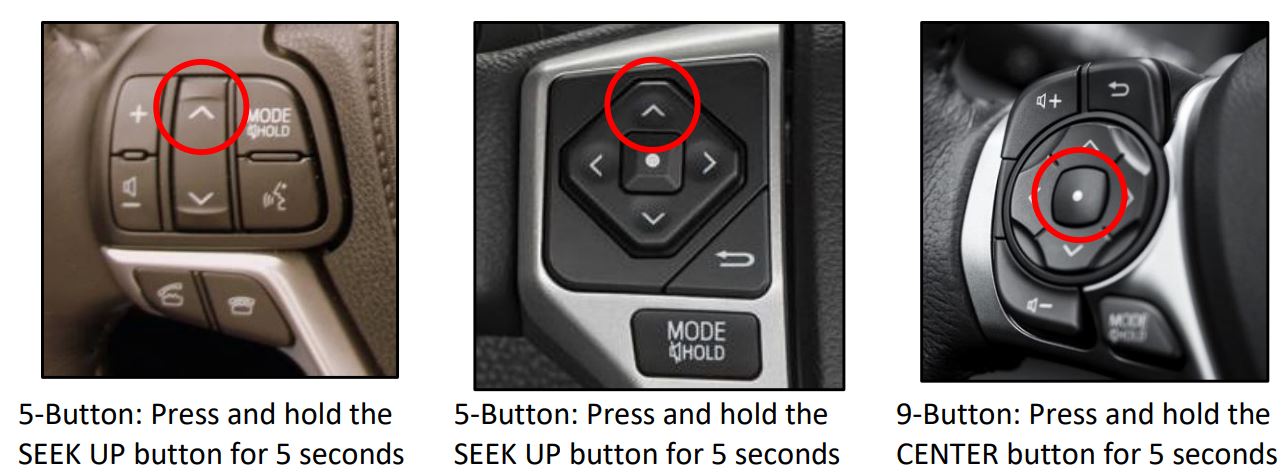
- Connect the Orange/White wire to your corresponding SWC type. (9 Button or 5-Button)
- Connect the VCIP5 to the female RCAs on the AVITY-01 T-Harness.
- Plug the HDMI connector of the VCIP5 to the HDMI adaptor being used.
- Switch to the new AV input by using the SWC or the radio. (See page 3)
- The AVITY-01 will mirror the display on your device onto the video screen. All applications that allow you to rotate will fill the screen on the radio display. Note that all controls will stay on the device and not on vehicle’s video screen.
- Re-install the radio into the dash.
10-PIN JBL RADIOS:
Vehicles equipped with a JBL system will not have a 10-Pin connector, you will need to cut three wires from the 10-pin male connector (with female pins) of the WVITY-01 T-harness and connect as follows:
RED = to 12V ACC
YELLOW = to 12V Constant
BLACK = to Ground
The 10-pin male connector (with female pins)
of the WVITY-01 T-harness will not be used.
ACTIVATING AND DEACTIVATING THE VIM FEATURE:
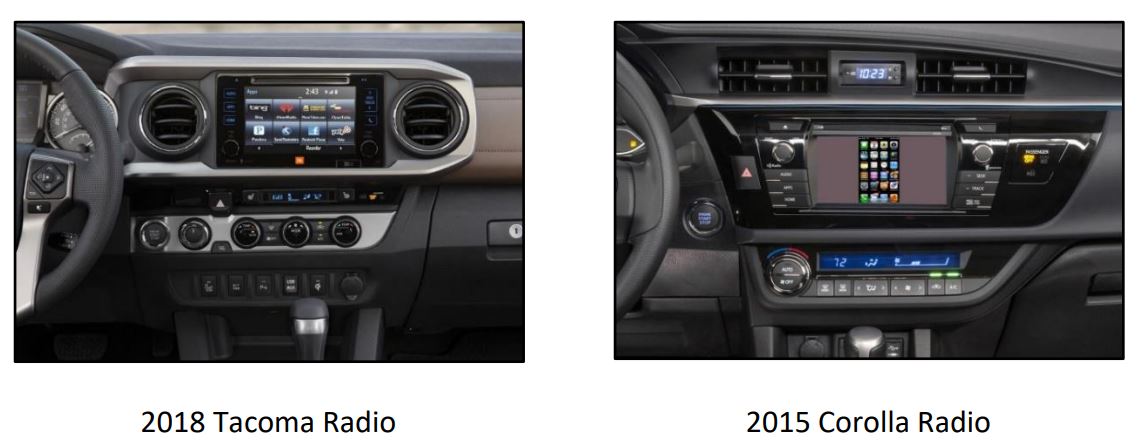
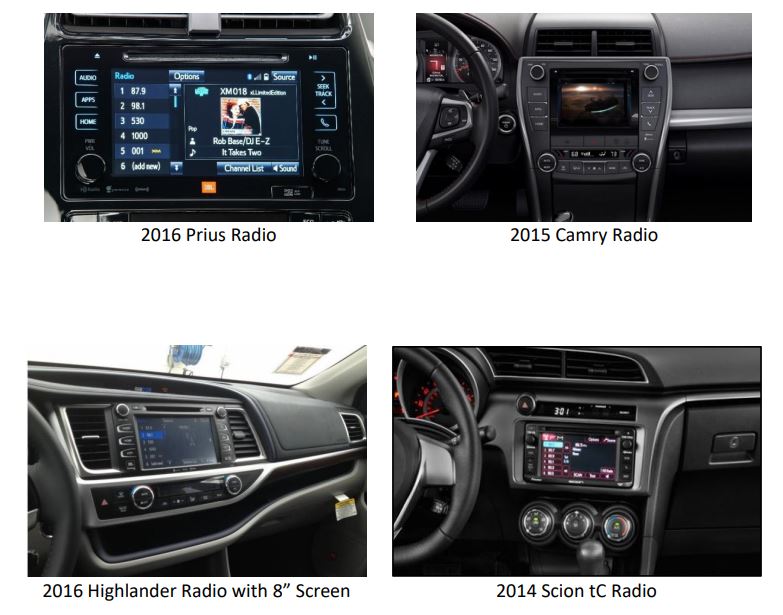
RADIO COMPATIBILITY:
Toyota Entune®
LEXUS (without factory Navigation)
2014 – 2019 CT 200h (with 7” screen)
2014 – 2019 IS
2014 – 2019 GX 460
2015 – 2017 RC
2015 – 2018 ES
SCION
2014 – 2015 iQ
2014 – 2016 tC
2014 – 2015 xD
TOYOTA
2012 – 2019 4Runner
2012 – 2018 Avalon
2012 – 2017 Camry
2014 – 2017 Corolla
2012 – 2014 FJ Cruiser
2012 – 2019 Highlander
2012 – 2015 Land Cruiser
2012 – 2013 Matrix
2013 – 2019 Prius (not compatible with 11.6” screen)
2012 – 2018 RAV4
2012 – 2019 Sequoia
2012 – 2017 Sienna
2012 – 2019 Tacoma
2012 – 2019 Tundra
2012 – 2015 Venza
2012 – 2018 Yaris
NOT COMPATIBLE RADIOS: